[VMware 시작하기 #8] VMware PowerCLI 에서 VM 생성하기 | 한 개씩 혹은 한 번에 여러 개의 VM 생성해 보기
이전 포스팅에서 VMware PowerCLI 를 설치하는 방법에 대해서 알아보았다.
이번 포스팅에서는 PowerCLI를 이용해서 VM을 생성하는 방법에 대해서 알아본다.
PowerCLI를 이용하면 한 번에 여러 개의 VM 생성/삭제 등이 가능하다.
VM 생성에 관한 PowerCLI에 대한 커맨드는 아래 링크를 참고하자!!!
간단히!!
복습을 해보면~~~
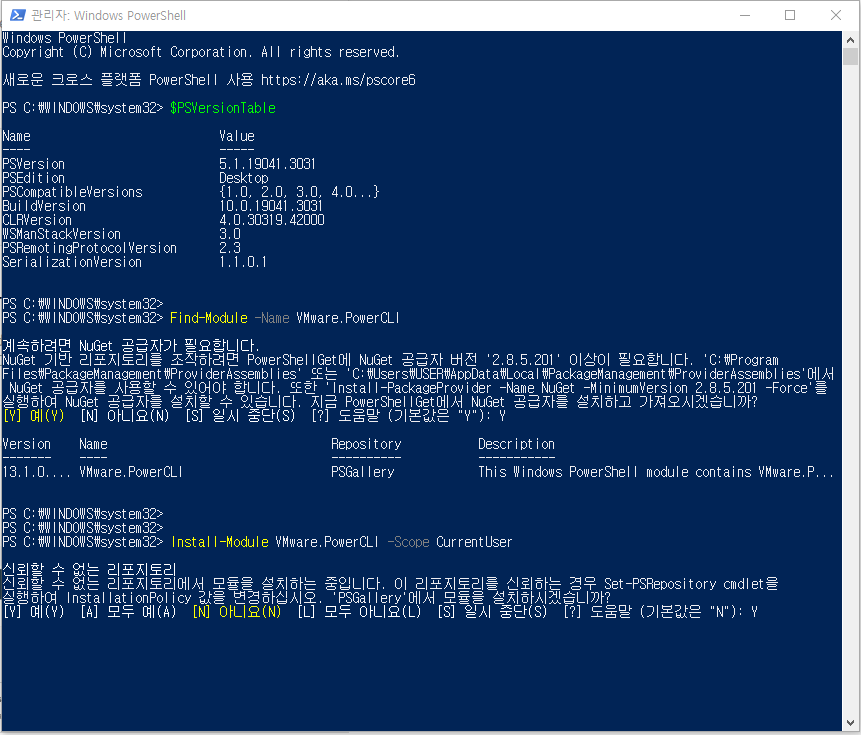
아래와 같은 방법으로 PowerShell의 버전을 확인하고 PowerCLI를 설치한다.
$PSVerdionTable
Find-Module -Name VMware.PowerCLI
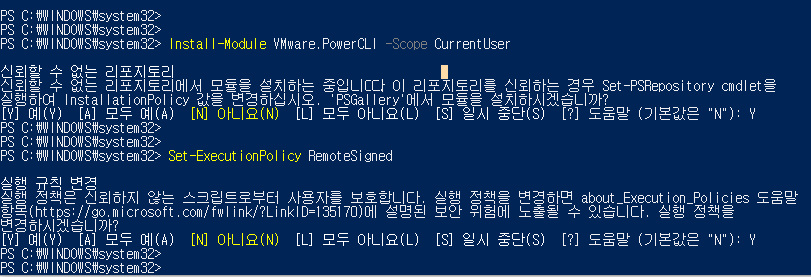
Install-Module VMware.PowerCLI -Scope CurrentUser
그리고 PowerCLI에서 스크립트 실행을 위해서 아래와 같이 PowerShell의 RemoteSigned를 설정한다.
Set-ExecutionPolicy RemoteSigned

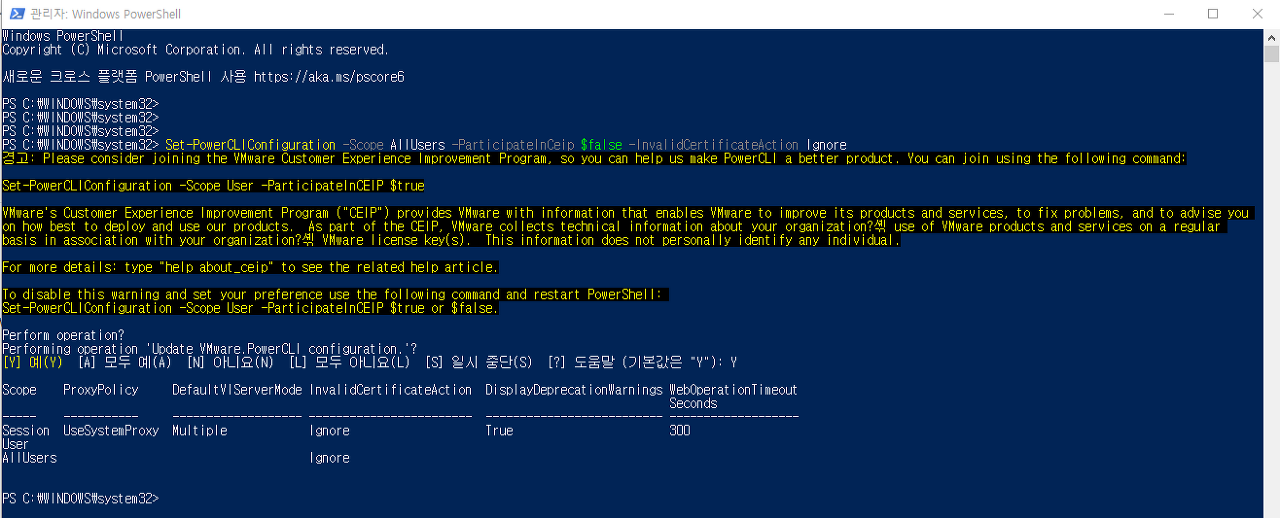
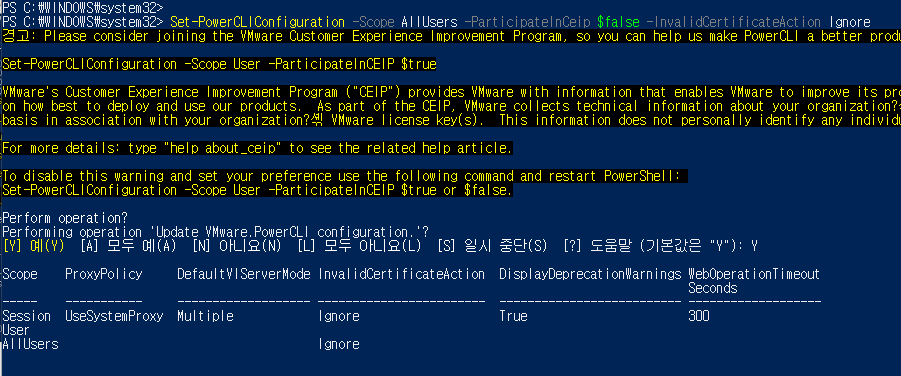
그리고 신뢰되지 않는 자격 증명에 대한 응답을 허용해준다.
Set-PowerCLIConfiguration -Scope AllUsers -ParticipateInCeip $false -InvalidCertificateAction Ignore

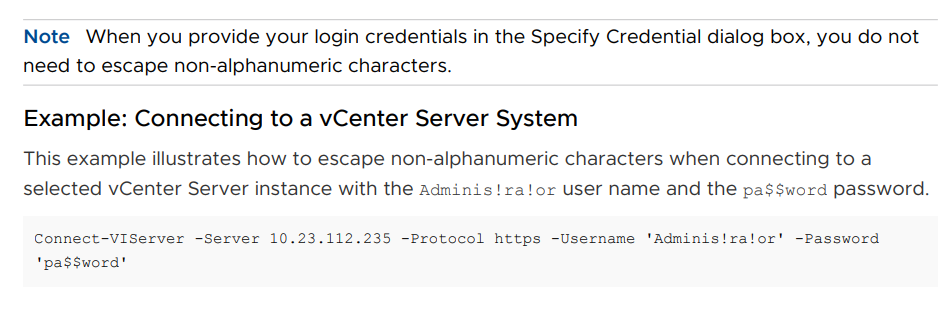
이제 vCenter Server에 연결해보자
Connect-VIServer -Server 서버아이피 -User administrator@vsphere.local -Password 패스워드
GET-VM
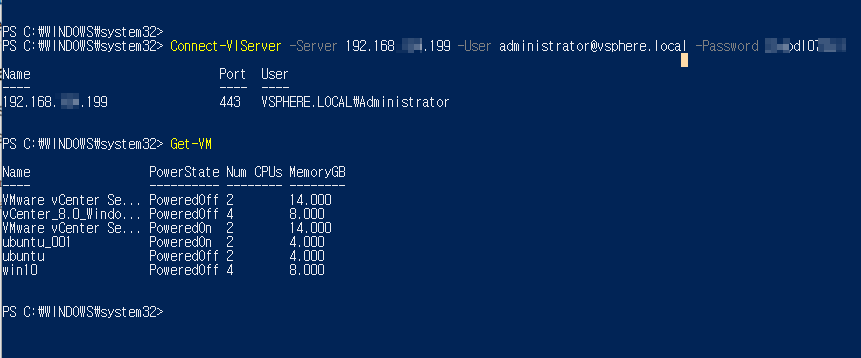
Get 으로 생성되어 있는 VM 및 다른 정보들이 정상적으로 출력되는지 확인한다.
get-vmhost
get-vm
get-datacenter
get-datastore
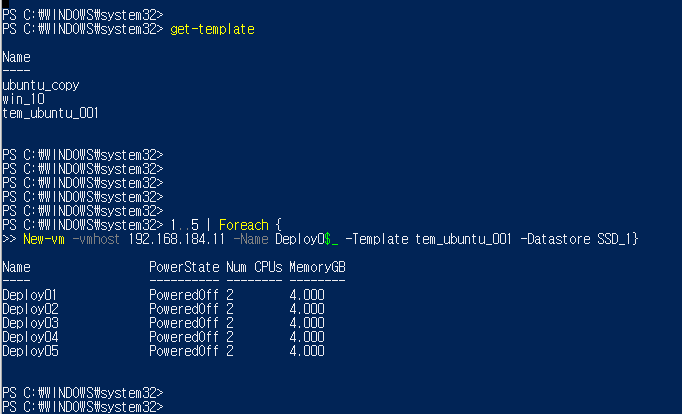
get-template

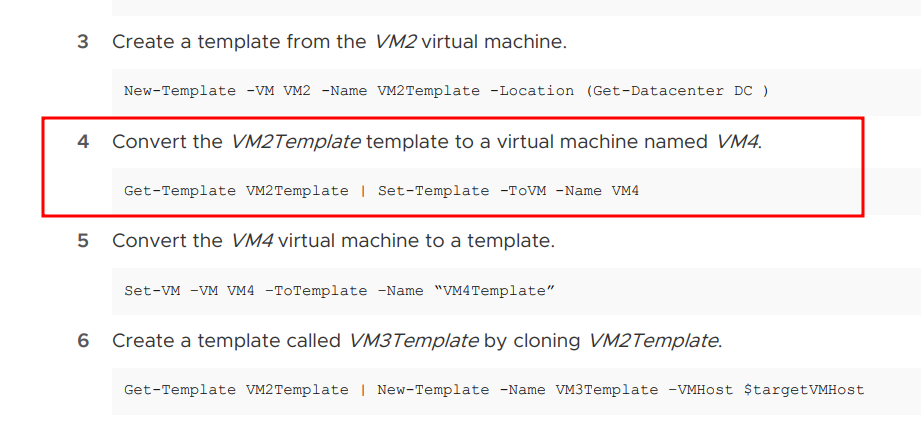
아래는 생성해 놓은 템플릿을 이용하여 새로운 VM을 생성하는 과정이다.
(vCenter Server에서도 동일하게 UI를 이용하여 템플릿 생성할 수 있다)
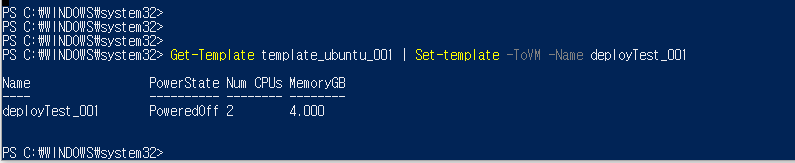
아래처럼 템플릿 template_ubuntu_001 을 이용하여 deployTest_001 이라는 VM을 생성할 수 있다.
이 경우 템플릿이 VM으로 변경이 되고 템플릿은 사라진다.
Get-Template template_ubuntu_001 | Set-template -ToVM -Name deployTest_001
New-vm 명령을 이용하여 아래와 같이 VM을 생성할 수 있다.
템플릿을 사용하여 VM을 생성하고 사용된 템플릿은 그대로 남는다.
New-vm -vmhost 192.168.x.11 -Name Deploy01 -Template tem_ubuntu_001 -Datastore SSD_1


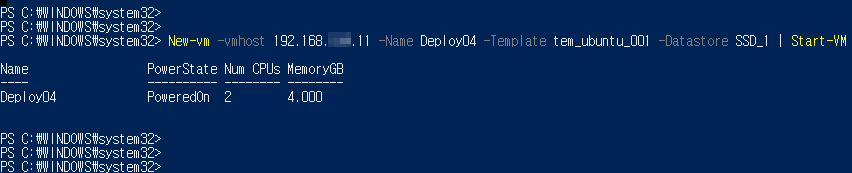
New-vm 명령을 이용하여 새로운 VM을 생성하고 | Start-VM 옵션으로 생성한 VM을 바로 가동시킬 수 있다.
New-vm -vmhost 192.168.x.11 -Name Deploy04 -Template tem_ubuntu_001 -Datastore SSD_1 | Start-VM

PowerCLI를 이용하여 VM을 한 번에 여러개 생성할 수 있다.
아래와 같이 '숫자 | Foreach' 를 이용하면 원하는 갯수의 VM을 한 번에 생성할 수 있다.
VMware PowerCLI로 한 번에 5개의 VM 생성
1..5 | Foreach {
New-vm -vmhost 192.168.x.11 -Name Deploy0$_ -Template tem_ubuntu_001 -Datastore SSD_1}
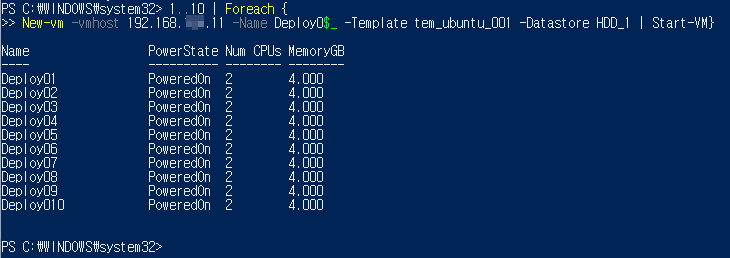
VMware PowerCLI로 한 번에 10개의 VM 생성 / 생성한 VM Power ON
1..10 | Foreach {
New-vm -vmhost 192.168.x.11 -Name Deploy0$_ -Template tem_ubuntu_001 -Datastore HDD_1 | Start-VM}
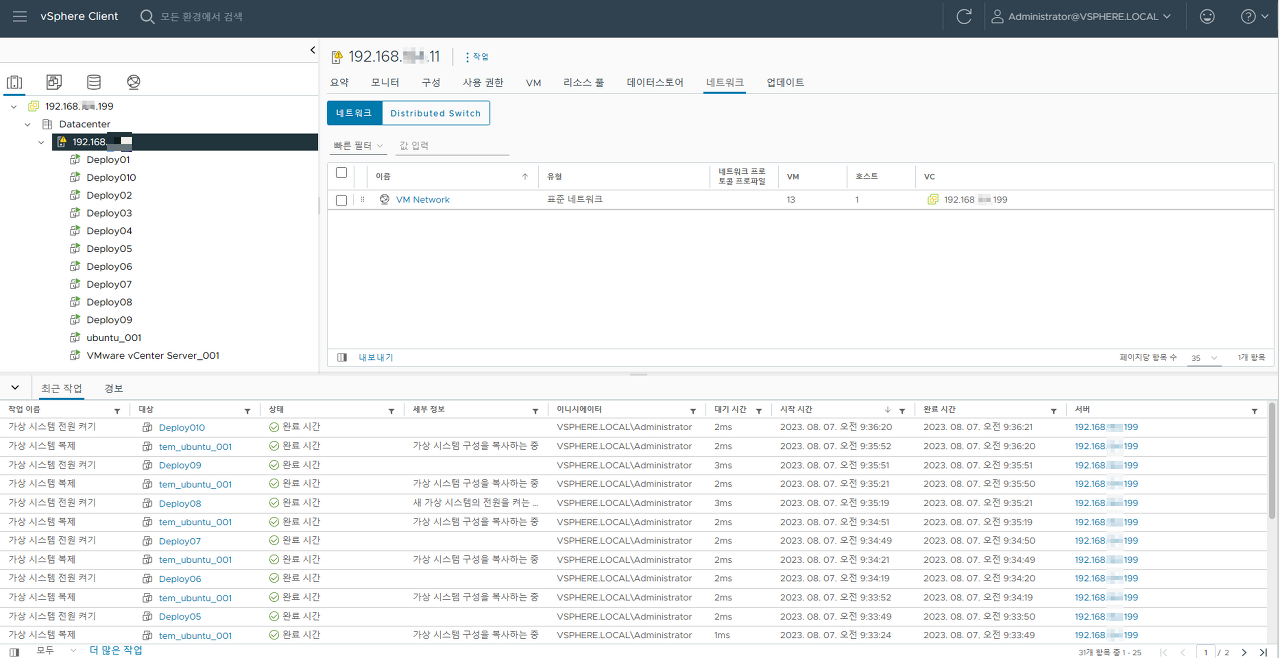
VMware PowerCLI로 한 번에 30개의 VM 생성 / 생성한 VM Power ON
1..30 | Foreach {
New-vm -vmhost 192.168.x.11 -Name Deploy0$_ -Template tem_ubuntu_001 -Datastore HDD_1 | Start-VM}
